By changing the locale of the view, most of the text that hard-coded on pages in your store can be instantly translated into another language. Changing the locale doesn’t translate word-by-word all the text on the interface, but references merely a different translation table that includes the interface text that is used on the store. Navigational titles, labels, buttons, and links such as “My Cart” and “My Account” are included in the text can be changed. To edit text in the interface, you can also use the Inline Translation tool.
You can find other language packs as new extensions on Magento Marketplace, so remember to check back often.
In this article, we provide a tutorial on how to add a language in Magento 2 admin
Step 1: Install a Language Pack
To install the language pack extension from Extension Manager, follow the standard instructions.
Step 2: Create a Store View for the Language
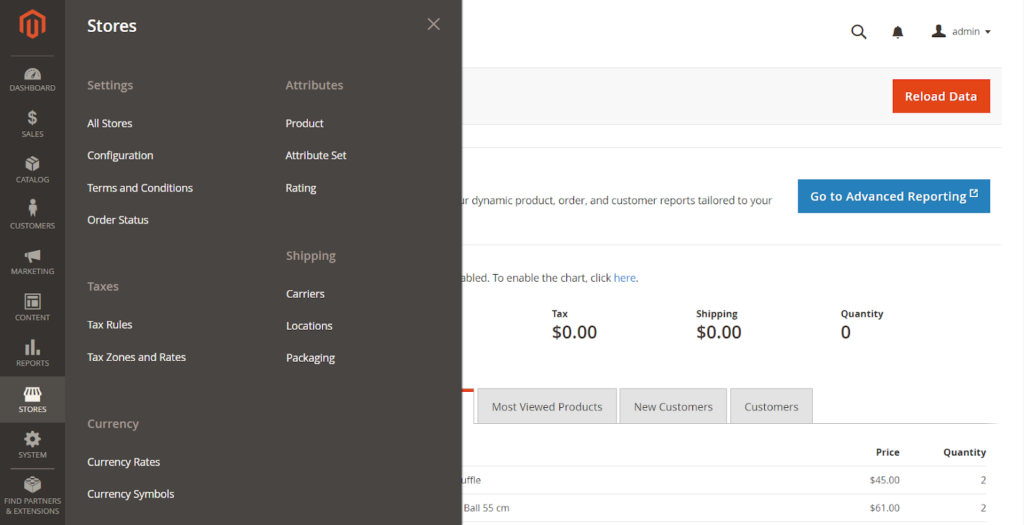
- On the Admin sidebar, click Stores. After that below Settings, click All Stores.
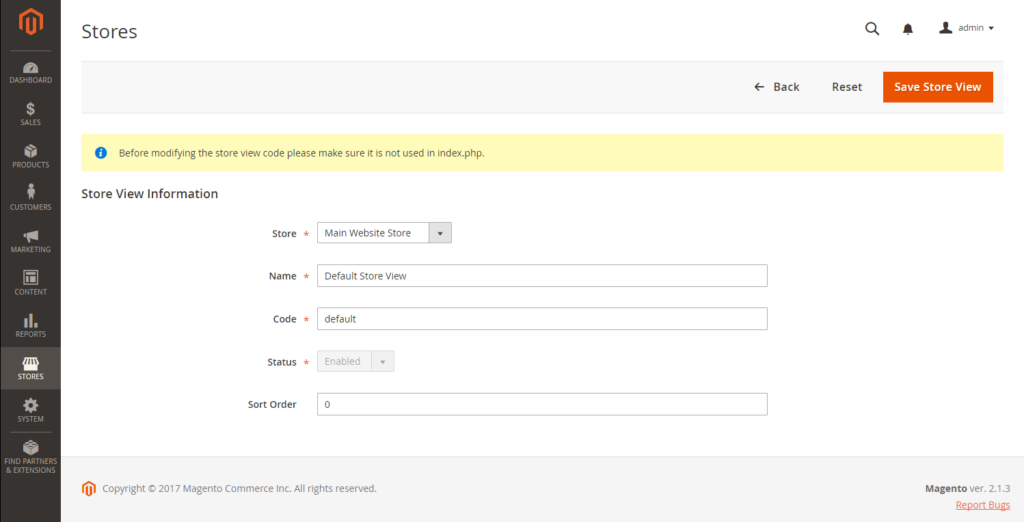
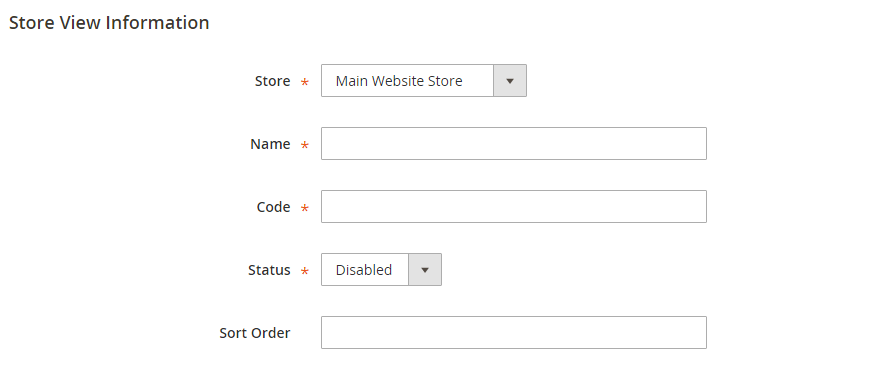
- Click Create Store View. After that, follow these steps:
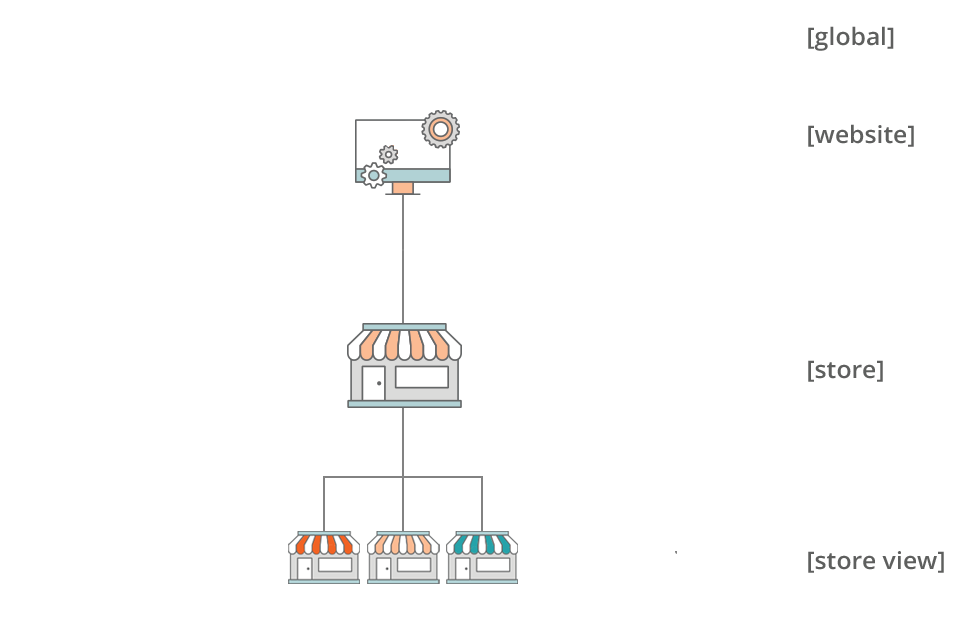
- Click the Store that is the parent of the view.
- Input the store view’s Name. For example: Portuguese. In the header of the store, the name displays in the “language chooser.”
- Input a Code in lowercase characters to identify the view. For example: portuguese.
- To activate the view, change Status to “Enabled.”
- (Optional) Input a Sort Order number to determine the sequence in which this view is listed with other views.
- Click Save Store View after completed.
Step 3: Change the Locale of the Store View
- On the Admin sidebar, click Stores. After that below Settings, click Configuration.
- Change Store View to the specific view where you want to apply the configuration. Click OK after confirmed that the scope is switched.
- Open the Locale Options tab.
- Uncheck the Use Website checkbox after the Locale field. After that, change Locale to the language that you want to assign to the view. If there are several variations of the language available, remember to choose the one for the specific region or dialect.
- Click Save Config after completed.
The remaining content that store administrator has created, including product names and descriptions, categories, CMS pages, and blocks must be translated separately for each store view after store owner change the language of the locale.
In the next article of Store category, we will provide a tutorial on how to translate products in Magento 2 web store. So keep checking Magestandard more often.