An Introduction of Store Admin in Magento 2

Talking about an online store in general, and in Magento in specific, we know that there are 2 factors in the site: the frontend and the backend. The frontend is all things what you want to show for customers, whereas, the backend is where you totally control everything about your store, such as products, customers, and so on. In this article, we will introduce about Store Admin in Magento 2 so you can have an overview of this term in the backend of Magento 2.

Store Admin in Magento 2

Store admin in Magento 2
Store Admin in Magento 2

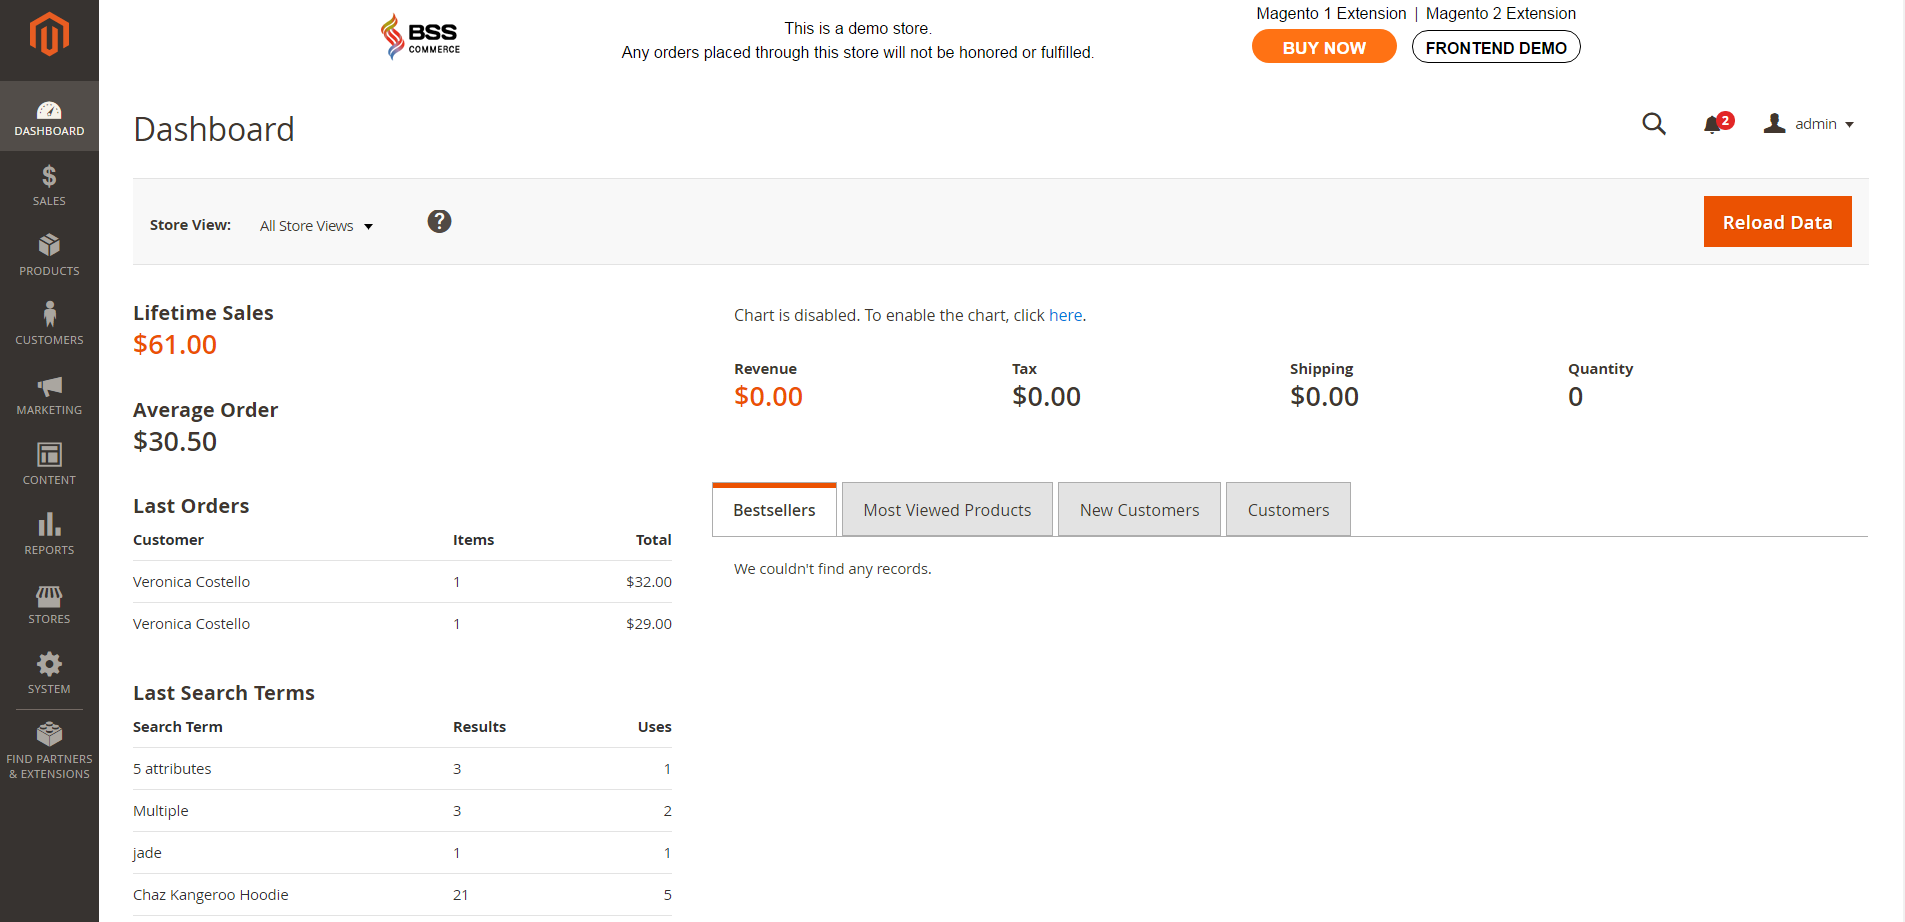
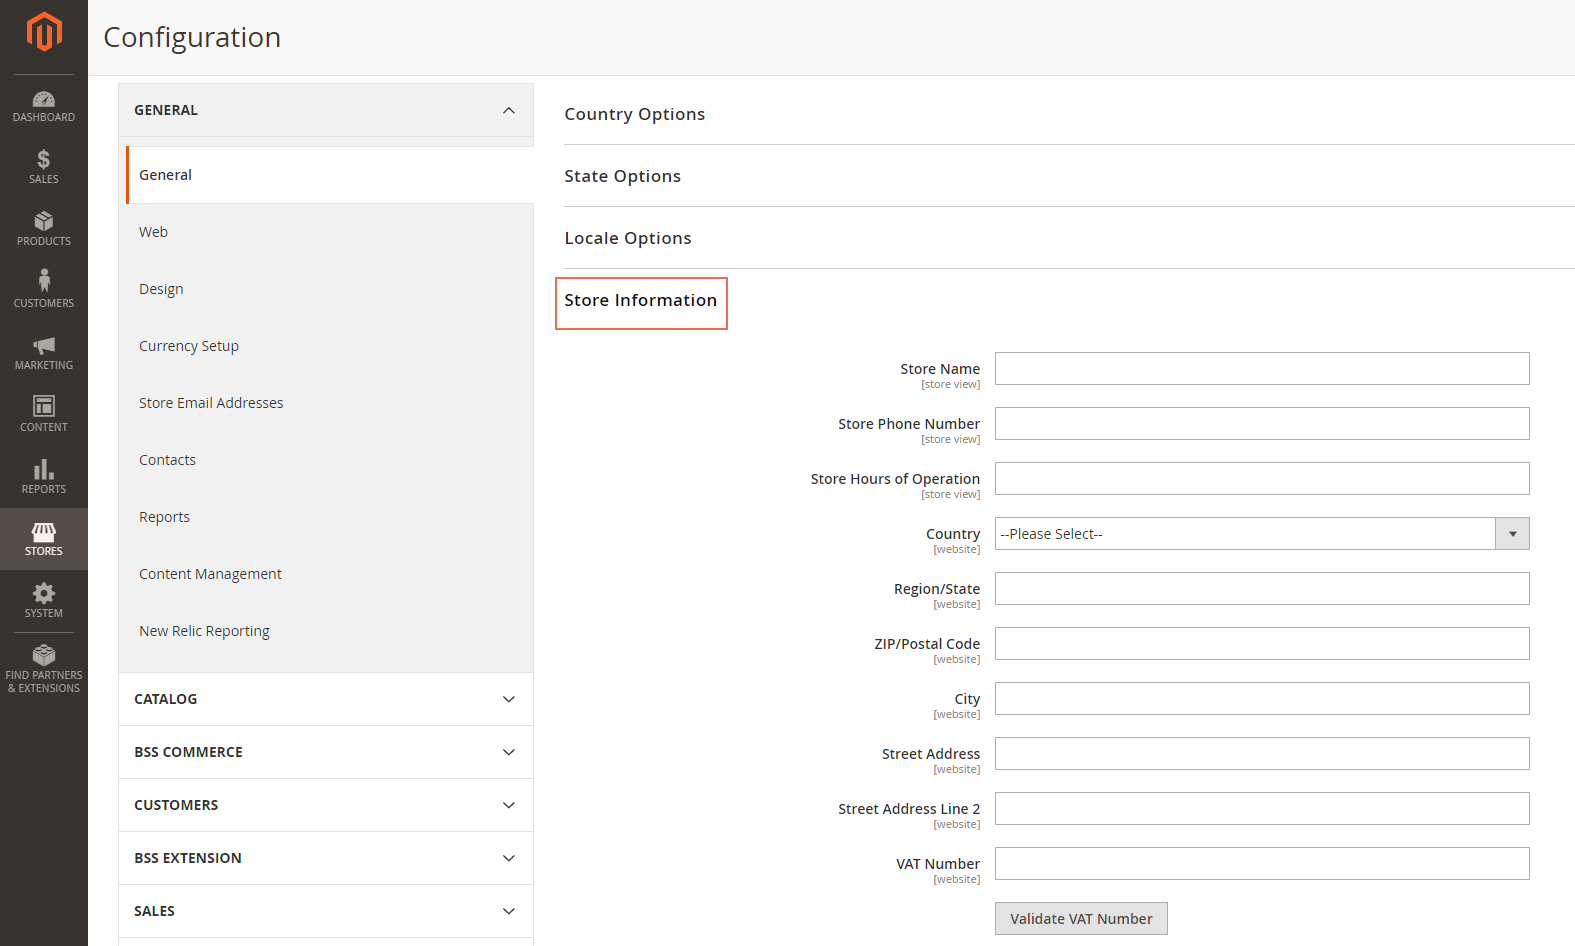
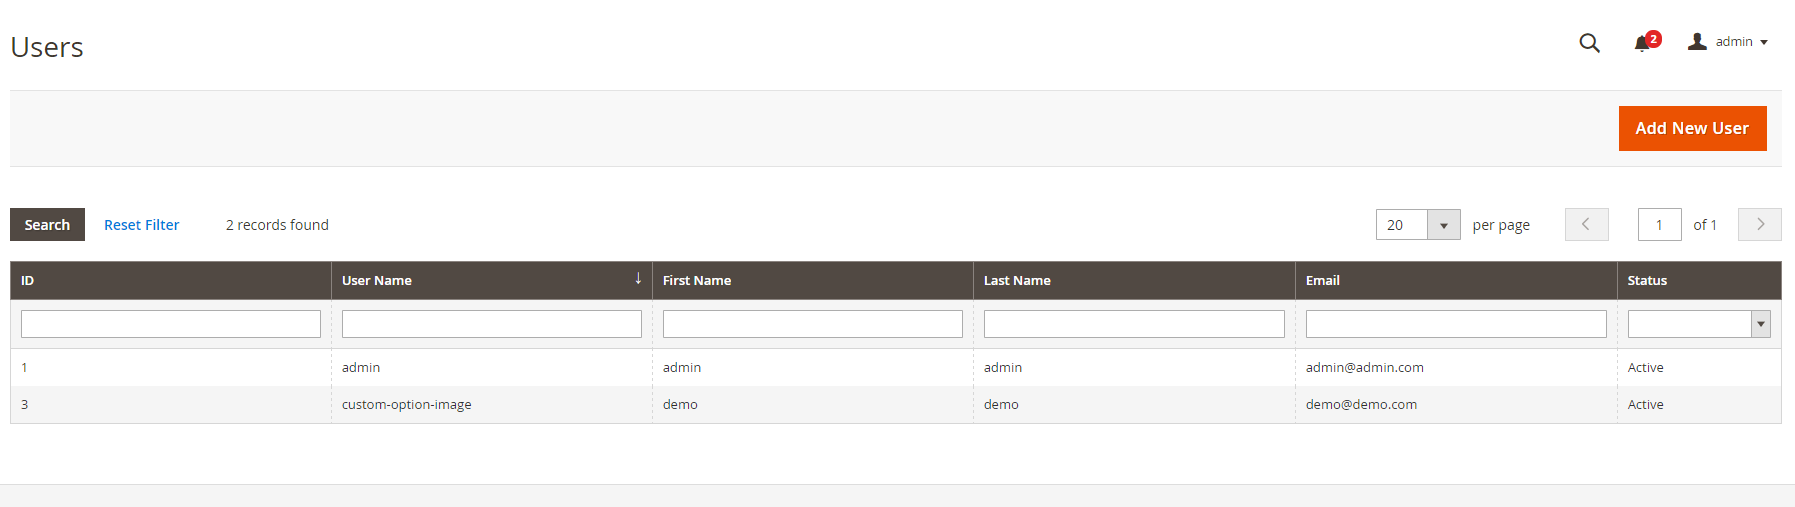
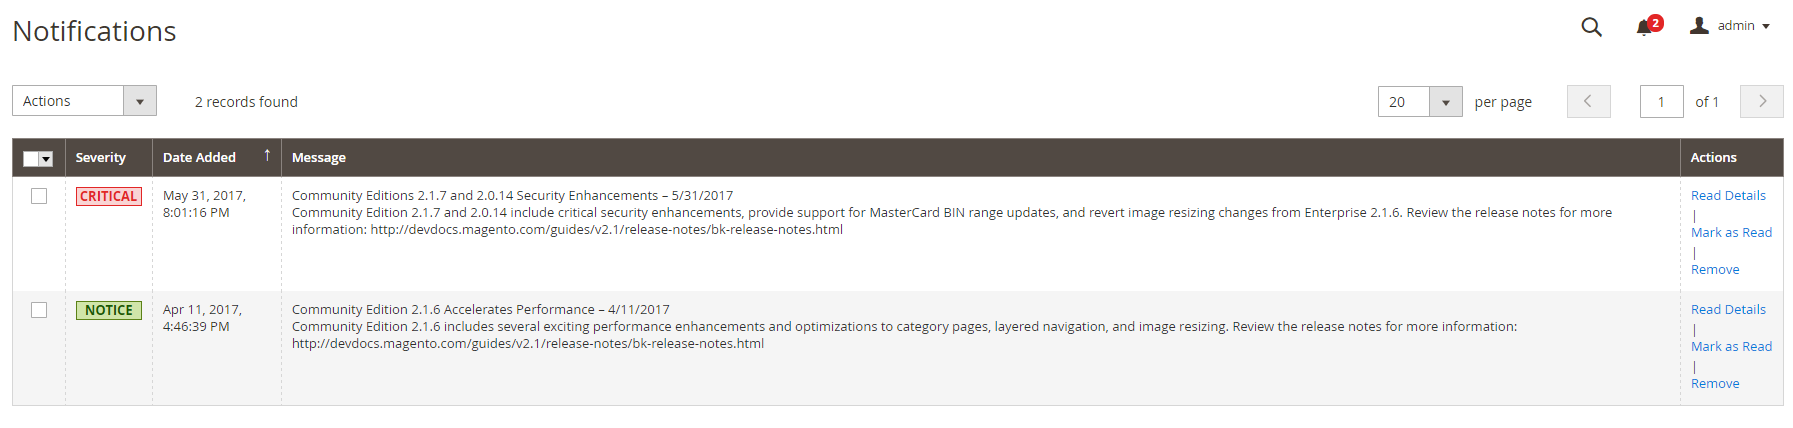
At first, you need to login your account in the backend, and this is your store admin. Actually, Store Admin is understood like a back manager office protected by password. In this office, you enable to configure products, set up promotions, organize and manage order or other admin tasks. Obviously, admin does all the configuration tasks and organize store management.

An interesting feature is that when you install Magento, your initial sign-in credentials are set up. In case your password is forgot, there will be a temporary password sent to your email address which is associated with your account. For higher security, you can totally configure a case-sensitive username and password for your store requirement. If you want additional security, you can configure CAPTCHA requirement for admin login.

Discussing about Store Admin, you might talk about:

  • Admin Sign-in: you will learn how to sign in and sign out your Admin account.
  • Your Admin Account: it is initially set up during the installation.
  • Admin Sidebar: this is located on the left side of the admin dashboard
  • Admin Workspace: this factor supplies access to all the tools, data and content you need to organize your store.

However, we would not introduce these factors in this blog, and we will reveal them in the next coming article.

In short, here is all the details about Store Admin in Magento 2 we want to share with you. If you find it helpful for you, please Like, Share and Subscribe to keep updating for more upcoming blogs!


A Helpful Guide to Basic Configuration in Magento 2

Mastering the basic configuration is a must-have thing for any store owner. This blog will guide you through the basic setting in Magento 2 admin panel. To be more specifically, there are five main sections that will be introduced in this article, including store admin, store details, storefront branding, website – store – view and industry compliance.

1.Store Admin in Basic Configuration


The store admin is your back office that you can conduct all the actions here, from creating product, managing order, setting promotion to configuring tax and checking customer data. All the administrative tasks are executed in store admin.

The store admin is protected by a password that is set up when you install Magento 2. In case you forget the password, you can request a temporary password sent by the system to the email you use when creating your account.

2. Store Details in Basic Configuration

Please navigate to Admin => Sidebar => Stores => Configuration => General => Store Information.

magento-2-store-details-in-basic-configuration
Magento 2 store details

This part allows admin to enter detailed information about your store, including store name, store phone number, store hours of operation, country, region, postal code, city, street address, and VAT number.

The store’s detailed information such as name, address, email and phone number will be included in your document like invoice and email sent to customers.

3. Storefront Branding in Basic Configuration

magento-2-storefront-branding-in-basic-configuration
Magento 2 storefront branding

When first setting up for your frontend store, here are a few quick thing you can do: add logo in the header, use the favicon for the browser, a demo notice on the header such as “This is a demo store. Any orders placed through this store will not be honored or fulfilled” and a copyright note on the footer of the page.

4. Websites, Stores, and Views

During Magento 2 installation, admin can create multiple websites, each website can have multiple stores and each store can hold multiple store views. Admin is capable of managing all websites, stores and store views from admin panel.

5. Industry Compliance

It is merchant’s responsibility to oblige the legal requirements, industry guidelines and best practices which are set by law, payment card industry and depended on the location.

In short, here is all the details for Magento 2 Basic Configuration we want to share with you. If you find it helpful for you, please Like, Share and Subscribe to keep updating for more upcoming blogs!

An Explanation For Structure Of Magento 2 System Menu

The system menu is an important part of Magento 2 admin panel that admin needs to know it like the back of their hands. This blog will give you a full explanation of the Magento 2 System Menu, its structure and benefits of each part.

The system menu is composed of five options: data transfer, extensions, tools, permissions, and other settings.

Please navigate to Admin => Sidebar => System.

magento-2-system-menu

1. Data Transfer

magento-2-system-menu-import
Magento 2 system menu import

This part of Magento 2 system provides tool for exporting and importing data. Admin can make use of this tool to easily import new items, delete or update data. For example, when first creating the catalog with lots of products, admin can import the product using CSV file. This will make the process of adding new products faster and easier than doing this manually.

Updating information on existing products or replacing products in your large catalog won’t take much time because admin can export the data, edit it and then import back to the store.

2. Extensions

magento-2-system-menu-extension
Magento 2 system menu extension

Using extension is the solution to store owner’s request that wasn’t available in Magento default. Many store owners purchase extension as a way to equip their stores with the advanced function that Magento didn’t support without interfering with the core codes.

3. Tools

magento-2-system-menu-cache-management
Magento 2 system menu cache management

This is the basic information that all admin need to acquire: executing routine index, flushing cache, backing up the system and other tools that will be benefit for troubleshooting and issue detecting for the support team.

4. Permissions

magento-2-system-menu-user-role
Magento 2 system menu user role

Magento allows admin to create roles and permission to limit the information that account can have when working on site. With permission, admin can restrict the access of different accounts to the admin panel.

5. Other Settings

magento-2-system-menu-notification
Magento 2 system menu notification

With this part, admin can execute other settings in System, such as managing notification, encryption key and adding custom variables.

In short, here is all the details and reviews for structure of Magento 2 System Menu we want to share with you. If you find it helpful for you, please Like, Share and Subscribe to keep updating for more upcoming blogs!

An Easy Guide to Set Up State Options in Magento 2

The state, province or region is considered as a necessary part of a postal address in many countries in the world. In this article, we will show you how to set up state options in Magento 2.

magento2-state-options
magento 2 state options

Details about State Options

The state or province is the information used for shipping and billing information, to calculate tax rates and so on. However, there are some countries where the state is not required. With these countries, the field can be totally ignored from the address or added as an arbitrary field.

In addition, there are differences between typical address formats of countries. Hence, you can also customize the template that is utilized to form the address for invoices, packing slips, and shipping labels.

How to Configure the State Options

  1. Choose Stores on the Admin sidebar -> Tap Configuration under Settings.
  2. Select General under General part in the left panel.
  3. Widen the State Options field and do this instruction:

a. In the State is Required for section, choose each country where region/state is a compulsory entry from the existing list.

b. Set the Allow to Choose State if It is Optional for Country part to one of the following options:

  • “Yes”: Adding the State section as an optional entry for countries where the state part is not obligatory.
  • “No”: Eliminating the State section in countries where the state part is not needed.
  1. Select Save Config to finish.

In Conclusion

We have shown you an easy guide to customize the Magento 2 state options . Please feel free to contact us if you have any query and don’t forget to follow our other articles to get more information about Magento 2.