A Complete Guideline On Attribute Sets In Magento 2 Store

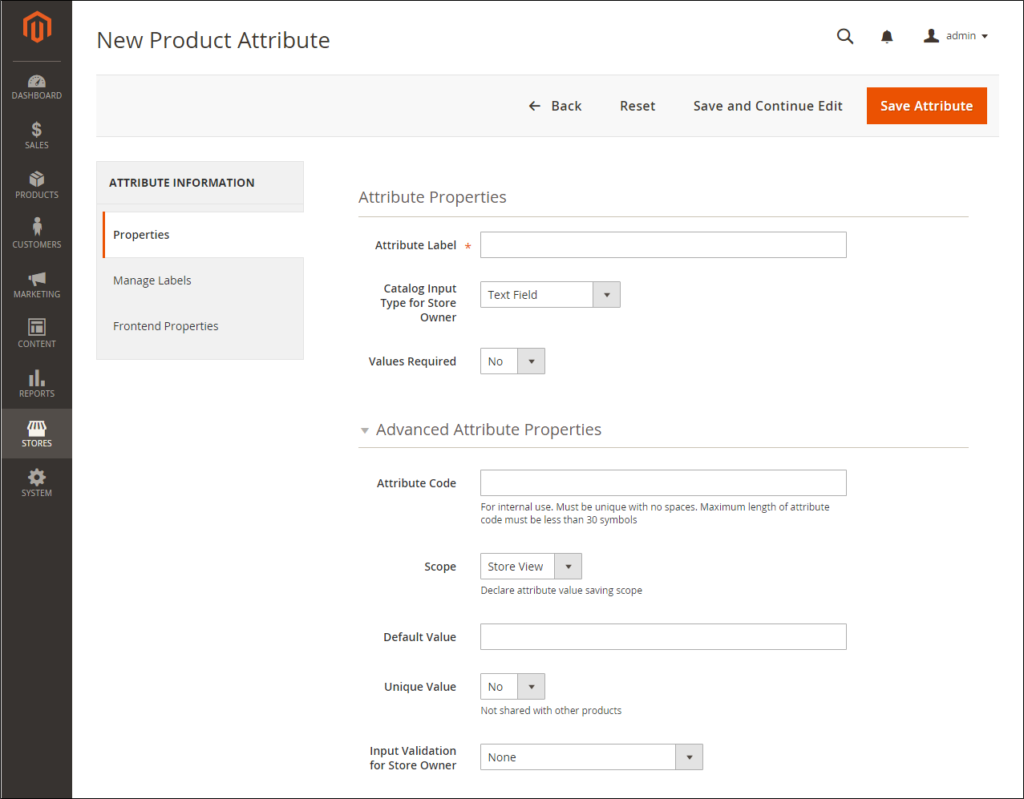
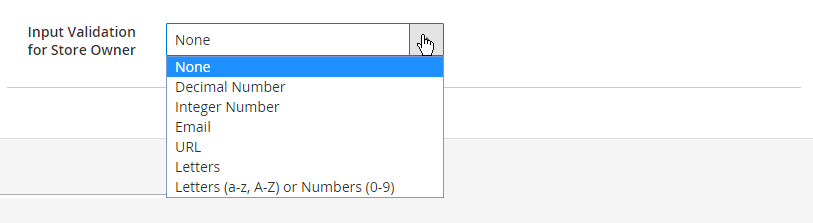
The attribute set decides the fields that are available during data entry and the values that display to the customer. When creating a product, one of the first steps is to choose the attribute set that is used as a product record template.

A group of the attributes that decide their display place in the product record. Your store comes with a default attribute set which includes a set of commonly-used attributes. If you’d like to add a small number of attributes, you can add them to the default attribute set. However, if you sell products that need specific types of information, you have to create a dedicated attribute set that includes the particular attributes that are necessary to describe the product.

Attribute Sets
Attribute Sets

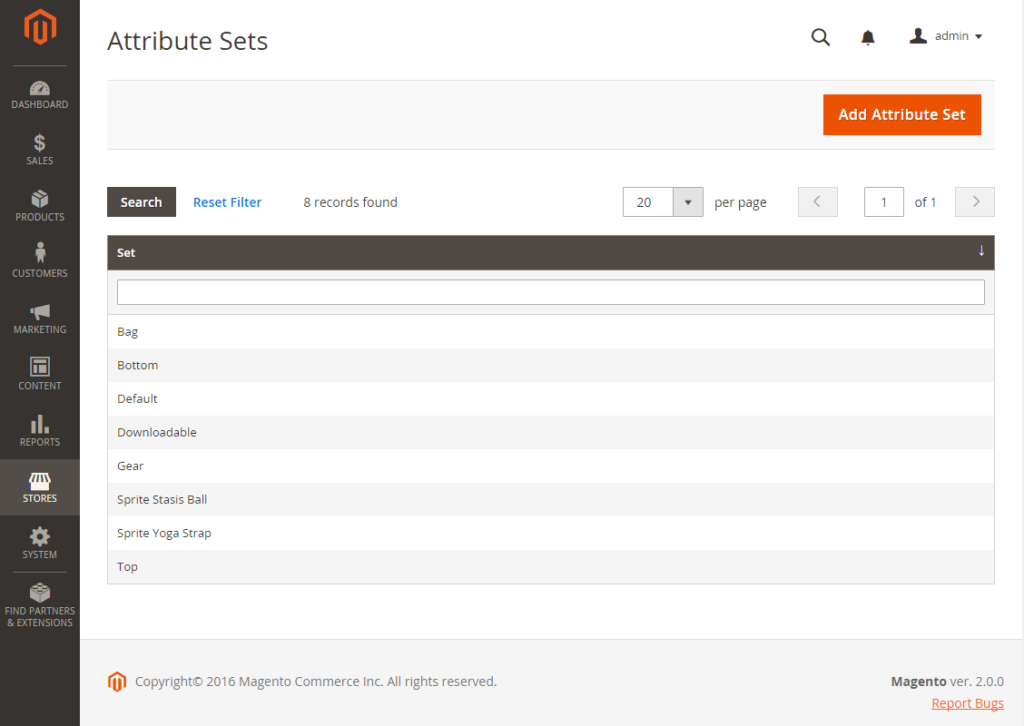
Follow these steps to create an attribute set:

On the admin sidebar click Stores, under Attributes click Attribute Set. Click Add New Set and follow these steps:

Edit Set Name
Edit Set Name
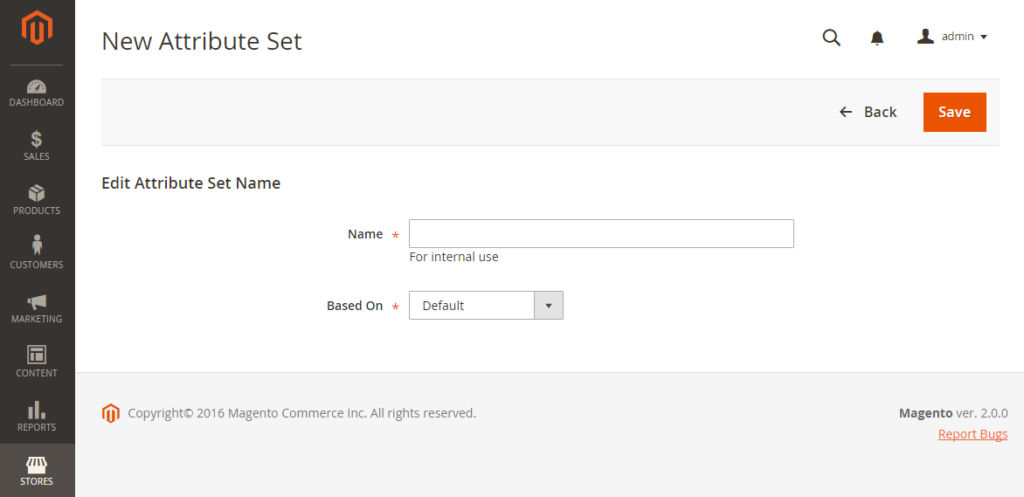
  • Input the Name and set the Based On to an existing attribute set to be used as a template then click Save.

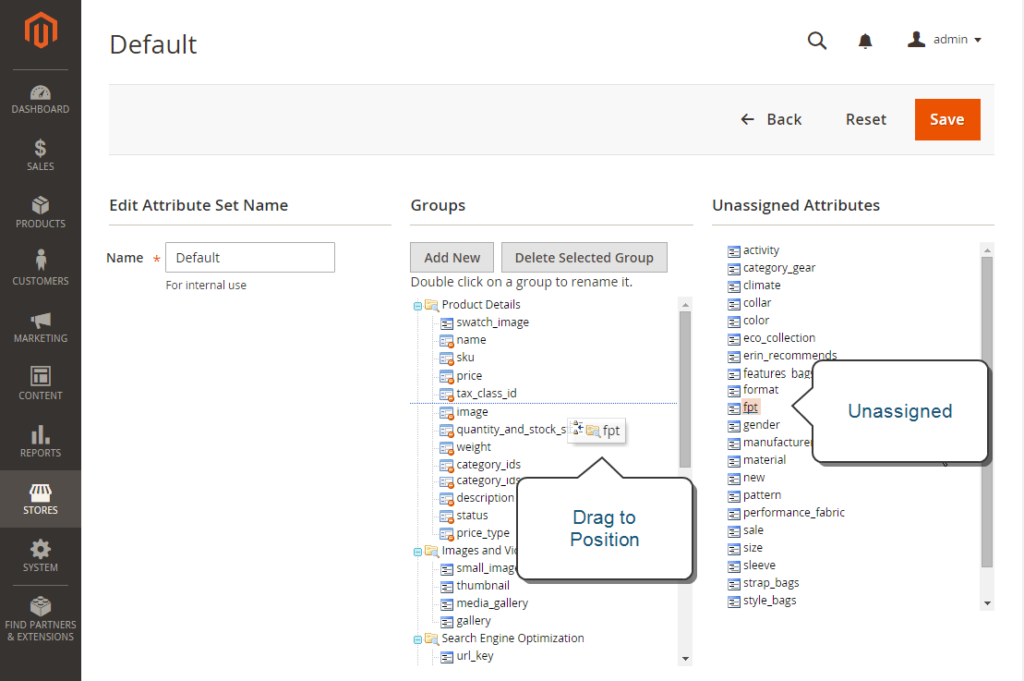
The next page displays the following:

  • The left column is the name of the attribute set. The name is for internal reference and can be changed.
  • The center of the page is the current selection of attribute groups.
  • The right column is the attributes that are not assigned to the attribute set.

Move the attribute from the Unassigned Attributes list to the appropriate folder in the Groups column to add a new attribute to the set.

You cannot delete system attributes which are marked with a dot from the Groups list. You can only drag them to another Group in the attribute set.

Click Save after completed.

Edit Attribute Set
Edit Attribute Set

Follow these steps to create a new attribute group:

In the Group column, click Add New, input Name and click OK. Do one of these steps:

  • Move Unassigned Attributes to the new group.
  • Move attributes from any other group to the new group.

The new group becomes a section of attributes in any product that is based on the attribute set.

How To Create Product Attributes In Magento 2 Admin Panel

Store administrators can create attributes while working on a product, or from the Product Attributes page. In this article, we describe a tutorial on how to create attributes from the Stores menu.

New Attribute Properties

Step 1: Describe the Basic Properties

On the admin sidebar click Stores. Under Attributes click Product.

Click Add New Attribute

Attribute Properties

Input an Attribute Label to identify the attribute.

Set Catalog Input Type for Store Owner to the type in input control to be used for data entry.

For the Dropdown and Multiple Select input types, do these steps:

  • Under Manage Options, click Add Option.
  • Input the first value that you want to display first. You can enter one value for the admin, and a translation for each store view
  • For each option that you want to add to the list, repeat the previous step.
  • Select Is Default to use the option as the default value.

To force the customer to select an option before the product can be purchased, set Values Required to “Yes.”

Manage Options
Manage Options

Step 2: Describe the Advanced Properties (if needed)

Input Attribute Code in lowercase, no spaces.

Advanced Attribute Properties

Set Scope to select the place in your store hierarchy that the attribute can be used.

To avoid duplicate value, set Unique Value to “Yes”.

Set Input Validation for Store Owner to the data type that the field should contain to run a validity test of data. The test can validate any type of these information below:

  • Decimal Number
  • Integer Number
  • Email
  • URL
  • Letters
  • Letters (a-z, A-Z) or Numbers (0-9)
Input Validation
Input Validation

Set these options to “Yes” to add this attribute to the product grid,

Add to Column Options Includes the attribute as a column in the Products grid.
Use in Filter Options Adds a filter control to the column header in the Products grid.

Step 3: Enter the Field Label

Open the Manage titles tab, input the Title to be used as a label for the field.

Manage Titles
Manage Titles

Step 4: Describe the Storefront Properties

On the left of the panel, click Storefront Properties.

Set Use in Search to “Yes” if the attribute is to be available for search

Set Comparable on Storefront to “Yes” to include the attribute in Product Compare

Do these steps for the dropdown, multiple select and the price fields:

  • Set Use in Layered Navigation to “Yes” to use the attribute as a filter in layered navigation.
  • Set Use in Search Results Layered Navigation to “Yes” to use the attribute in layered navigation on the search results pages.
  • Enter a number in the Position field to indicate the relative position of the attribute in the layered navigation block.

Set Use for Promo Rule Conditions to “Yes” to use the attribute in price rules.

Set Allow HTML Tags on Frontend to “Yes” to allow the text to be formatted with HTML. This setting will enable the WYSIWYG for the field.

Set Visible on Catalog Pages on Storefront to “Yes” to include the attribute in catalog page listings

If your theme is supported, do these settings:

Set Visible on Catalog Pages on Storefront to “Yes” to include the attribute on the product detail page

Set Used in Product Listing to “Yes” to include the attribute in product listings

Set Used for Sorting in Product Listing to “Yes” to use the attribute as a sort parameter for product listings.

Click Save Attribute after completed.

Storefront Properties

Attributes for Configurable Products

Any attribute that is used as a drop-down options list for a configurable product must have the following properties:

PROPERTY VALUE
Catalog Input Type for Store Owner Dropdown
Scope Global

An Insight Into Product Attributes In Magento 2 Store

Product Attributes In Magento 2 decide the way of using the attribute in the catalog its behavior and appearance on the shopping website, and in data transfer operations. The properties and labels associated with each attribute decide how it can be used, and its presence in the shopping website.

Properties This section includes basic and advanced attribute properties.
Labels The label identifies an attribute in the Admin and also in the storefront of each store view. If your store is the multi-lingual site, a different translated label for each language is recommended.
Storefront Properties The Storefront Properties decide how an attribute can be used in your store, its appearance, and behavior. You can specify if attributes are available for search, layered navigation, product comparisons, price rules, and sorting. For text attributes, you can use the WYSIWYG editor, and decide to use or not to use HTML tags in formatting the values.

To know how to use attributes while creating a product, read this article: Product Attributes In Magento 2 Catalog.

Product Attributes In Magento 2
Product Attributes Page In Magento 2

Property Descriptions

Property Description
Use in Search Set option to “Yes” to allow people to search the catalog based on the value of this attribute.

The following attributes display when Search is enabled:

Search Weight Set Search Weight from 1 to 10 to weight the search results.
Visible in Advanced Search Allows customers to enter search criteria through a form.
Comparable on Storefront Set option to “Yes” to include this attribute as a row in the Compare Products report.
Use In Layered Navigation (Multiple Select, Dropdown and Price input types) the attribute will be included as a filter in the “Shop By” section of the layered navigation. Options available:

No The attribute will not be used as a filter in the layered navigation.
Filterable (with results) Layered navigation includes only those filters for which comparable products can be found. The attribute value that already applies to all products shown in the list doesn’t display as an available filter. Attribute values with a count of no product matches will not on the available filters list.

The filtered products list includes only those that match the filter. The products list is updated only if the selected filter(s) change what is shown.

Filterable (no results) Layered navigation includes filters for all available attribute values and their product counts, including those without product matches. The value displays as a filter but is crossed out if the attribute value is a swatch.
Use In Search Results Layered Navigation To add the attribute to the layered navigation for search results, set option to “Yes.”
Position Decides the position of the attribute in layered navigation concerning other filterable attributes.
Use for Promo Rule Conditions To make the attribute available for use in price rules, set option to “Yes.”
Allow HTML Tags on Storefront (Text Area input types and Text Field) To unlock the ability to format the attribute value with HTML tags, set option to “Yes.”
Visible on Catalog Pages on Storefront (Simple and virtual products) To add the attribute to the Additional Information tab of the product page, set option to “Yes.”
Used in Product Listing Depends on the theme. To add the attribute to product summaries that display in catalog listings, set option to “Yes.”
Used for Sorting in Product Listing Depending on the theme, includes the attribute as a “Sort By” option for catalog listings.

An Insight Into Attributes In Magento 2 Store

On the previous articles, we described currencies, symbols and how to configure them in Magento 2 admin panel. In this series of Magento 2 articles, we will describe details of attributes, product attributes and attribute set, including attribute property descriptions and tutorial on create an attributes set and create a new attribute group.

What are Attributes In Magento 2 store?

Attributes in Magento 2 are pieces of information that display as forms, reports, product reviews, layered navigation, and email messages. Magento manage the information associated with products, customers, and product ratings using attributes. Some attributes are default in Magento system, store owners can create others to address specific needs.

To read more information about creating and managing product attributes, please read these articles:

An Insight Into Products Attributes In Magento 2 Store, including best practice for product attributes in Magento 2, how to add an attribute to a product, list of attribute input types, date time options in attributes.

A Complete Guideline On Attribute Sets In Magento 2 Store, including tutorial on creating an attribute set and creating a new attribute group.

If you want to read more about importing and exporting attributes, please read these chapters:

A Complete Guideline On Data Transfer In Magento 2, including a guideline on working with CSV files, data validation, a progress of import and export data in Magento 2, examples of data transfer, tutorial on importing and exporting configurable products.

Product attributes reference and Customer attribute reference.

Above is a complete manual about attributes in Magento 2 store. We hope that you can understand how do attributes work in default installation, how to configure everything related to attributes and manage attributes’ information. In the next article, we will describe further details about product attributes. Don’t forget to subscribe Magestandard to tracking all informative Magento 2 articles. See you in the next blog post.


How To Update Currency Rates In Magento 2

In the previous articles, we described currencies, symbols and how to configure them in Magento 2 admin panel. In this article, we will explain a tutorial on how to update currency rates in Magento 2 admin panel.

Store administrators can set the currency rates manually or import it into the store. To make sure that your store has the most current rates, you can schedule the currency rates to be updated automatically. Complete the Currency Rate Setup before importing currency rates to specify the currencies that you accept, and to create the import connection and schedule.

Update Currency Rates In Magento 2
Updating Currency Rates

To manually update a currency rate, follow these steps:

On the admin sidebar click Stores, under Currency select Currency Rates. Click the rate that you want to change and insert the new value for each currency. Click Save after completed.

To import currency rates, follow these steps:

On the admin sidebar click Stores, under Currency select Currency Rates. Change Import Service to the currency rate provider. The default provider is WebserviceX. Click Import

The Currency Rates list will display the updated rates. If the rates have changed since the last update, the old rate displays below for reference.

Click Save Currency Rates after completed, click the Cache Management Link and refresh caches.

Currency Rates In Magento 2
Refresh Invalid Caches

To import currency rates on schedule:

Enable Cron for your store. Complete the Currency Rate Setup to specify the currencies that you accept, and to create the import connection and schedule. Check the Currency Rates list to verify that the rates are imported on schedule. Then, wait for the duration of the frequency setting established for the schedule, and recheck the rates.