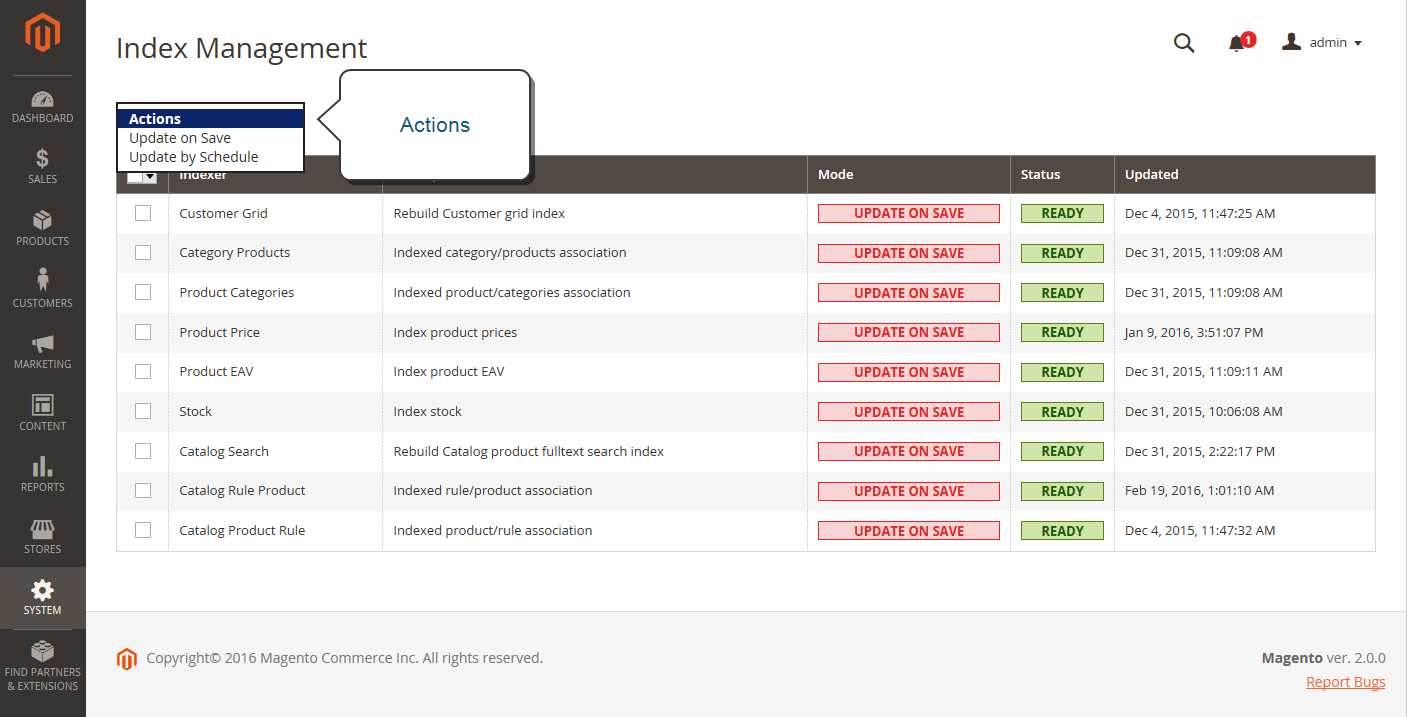
In the previous Magento 2 article, we described a manual of index triggers event in Magento 2. In this article, we will describe how to create a back up in Magento 2 admin panel
Magento Open Source allows store administrators to back up different parts of the installation, for example, the file system, database, and media files, and to recover automatically. A record for each backup displays in the table grid of the Backups page. Deleting a record from the list removes the archived file as well. Database backup files are compressed using the .GZ format. and the .TGZ format is used for the system backups and database and media backups. As a best practice, you should restrict access to backup tools, and back up before installing extensions and updates.
 |
Restrict access to backup tools. You can restrict access to the Backups and Rollback management tool by configuring user permissions for backup and rollback resources. To limit access, unselect the corresponding checkbox. If you need to grant access to recover resources, you must allow access to backup resources. |
|
Back up before installing extensions and updates. Before you install an extension or update, always perform a backup. You can use the backup option in the Component Manager that you can use before upgrading to a new release or installing an extension. |
Follow these steps to create a backup:
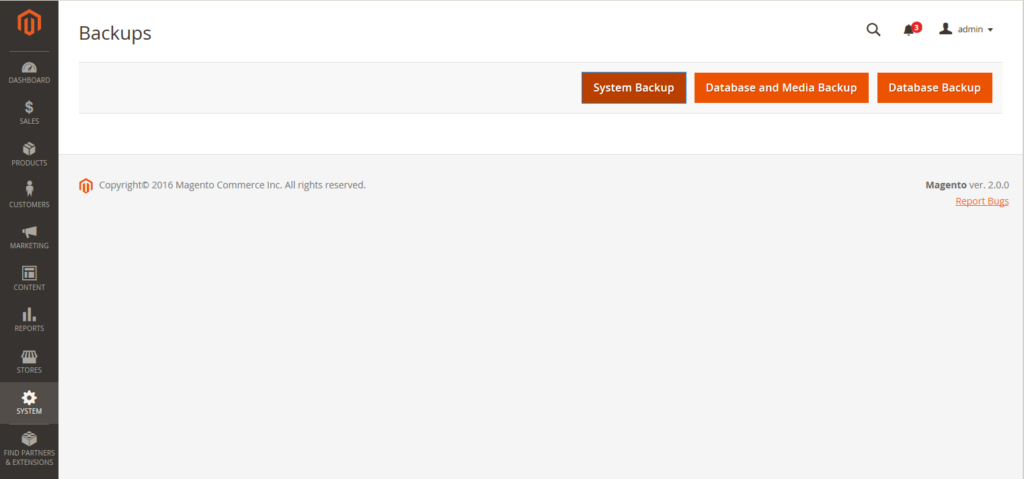
1. On the Admin sidebar, click System. Under Tools, click Backups.
2. Select the backup type you want to create by clicking the button on the right:
|
System Backup |
Creates a complete backup of the database and the file system. During the process, you can include the media folder in the backup. |
|
Database and Media Backup |
Creates a backup of the database and the media folder. |
|
Database Backup |
Creates a backup of the database. |
3. To change to the maintenance mode during the backup, select the checkbox. After that, maintenance mode is turned off automatically.
4. For a system backup, mark the Include Media folder to System Backup checkbox if you want to include the media folder. Confirm the action.
To schedule backups
1. On the Admin sidebar, tap Stores. Then under Settings, click Configuration.
2. On the left of the panel under Advanced, click System.
3. Open the Scheduled Backup Settings tab, and do the following:
4. When complete, tap Save Config.