In the default installation of Magento 2, an Admin account is created that gives you full administrative access. First, you have to create another user account with full Administrator access, so you can use one account for your everyday Administrative activities, and reserve the other as a “Super Admin” account in case you lost access to your main account.
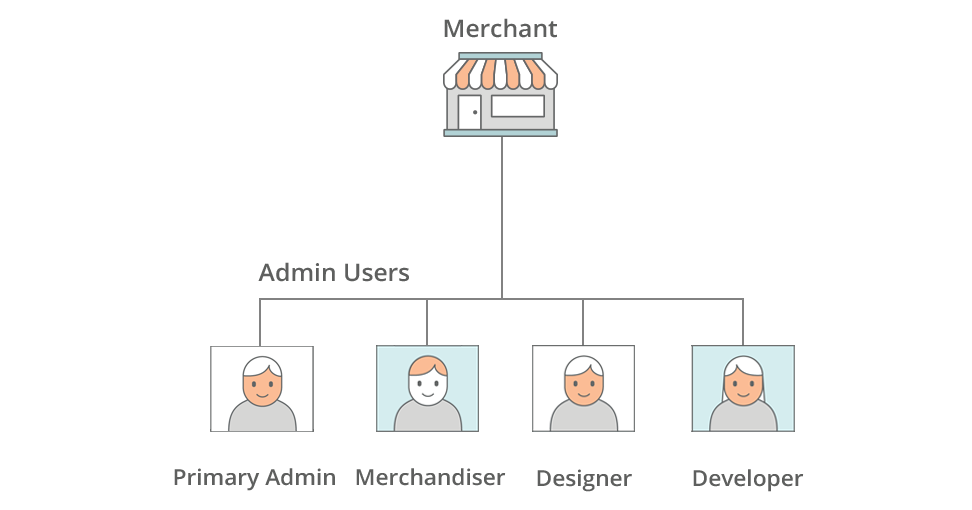
For a team of administrators, you can create a separate account for each, and set restrict access based on their business. To do that, you have to create a role with limited scope and access only to the necessary resources and assign the role to an admin account. After assigned to a restricted role, admin users can see and change data only for websites or stores that are associated with the role, but cannot make changes to any global settings or data.
Step 1: Create a New User
On the admin sidebar click System > All Users > Add New User. Follow these steps:
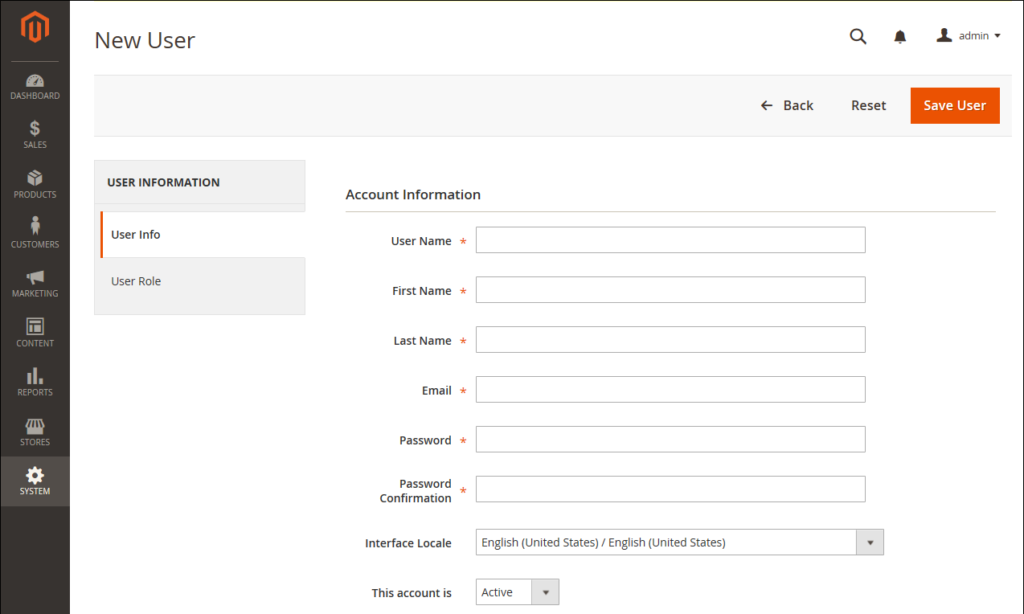
Enter all required information and set “This account is” as Active, enter your password under Current User Identity Verification.
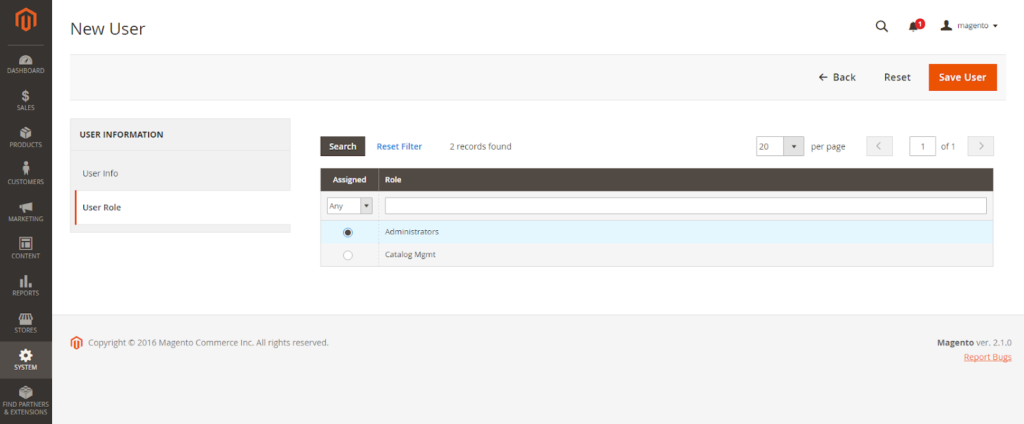
Step 2: Define the Role
On the left of the panel, click User Role. In the Assigned column, tick the Administrators selection and click Save User.
Admin Password Requirements
| FIELD | DESCRIPTION |
| Password | Length of the password must be seven or more characters long, include both letters and numbers. For further information, please read this article: How To Configure Admin Security In Magento 2 Admin Panel. |
Above is a tutorial on adding users in Magento 2 admin panel. We hope that you can manage the Administrators function in Magento 2 installation, and run your online store smoothly. In the next article, we will describe one of the most security function of Magento 2 platform: Lock Admin Account. Keep tracking Magestandard by subscribing to our site to read more Magento 2 tutorial blog post. See you in the next article.