How to Configure Online Session Length in Magento 2

All the information that is given by customer when they register into your system and the customer’s experience during the registration process is determined in the customer account settings. Here are six factors included in configuring customer account: Online Session Length, Customer Account Scope, Login Landing Page, New Account Options, Name and Address Options, Password Options. Thus, in this article, we would like to give you an overview of Online Session Length and how to configure it in the customer account setting.

An introduction of Online Session Length in Magento 2

The Online Session Length is included in the customer account settings. For your information, fifteen minutes is the default length per customer session.

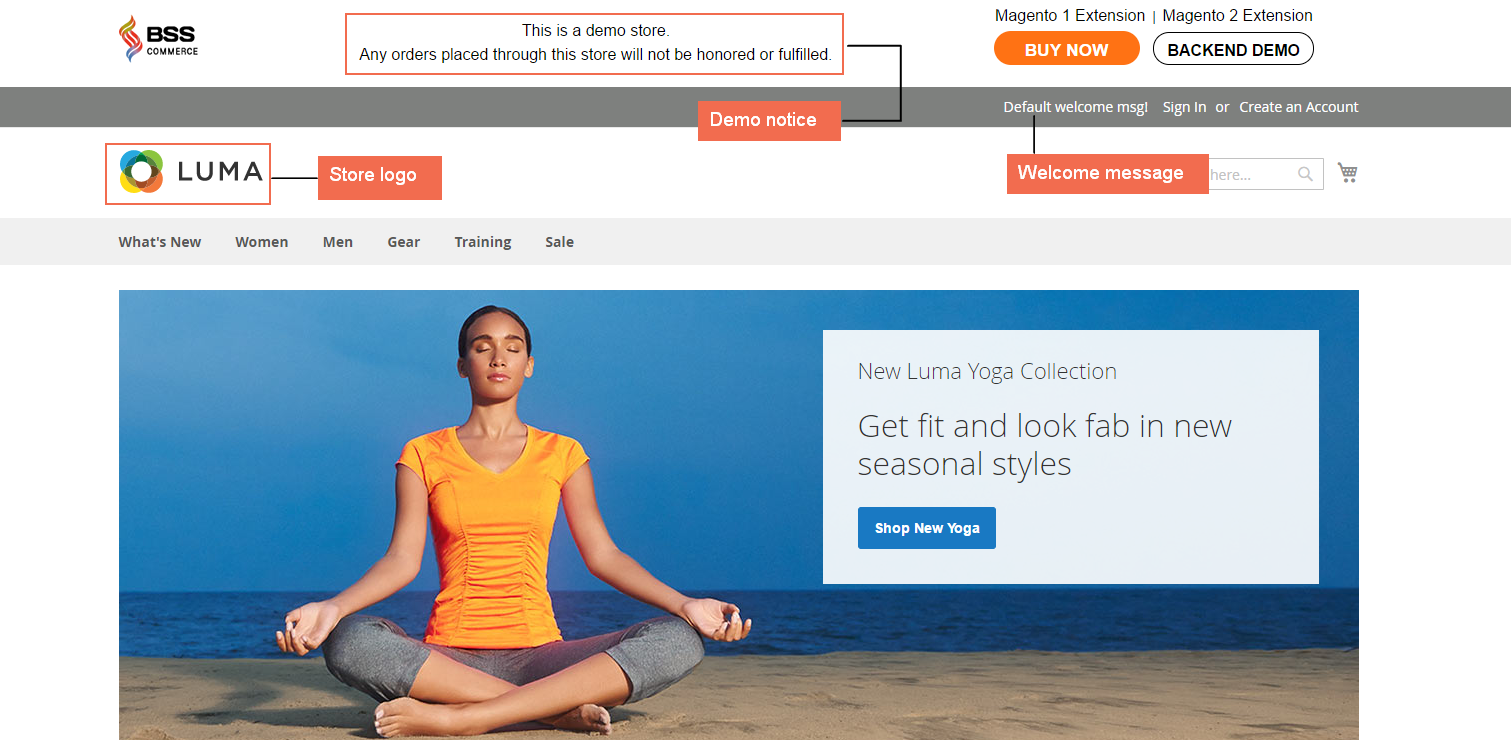
The current session automatically ends if you do not have any interaction with keyboard during active time. After that, customers have to log in to their accounts again to continue shopping. If customers set Enabled for Persistent Cart, in the next time they log in to their accounts, they still see the contents of their carts before. In addition, the online session length totally can be configured by admin in the customer account setting.

How to configure Online Session Length in Magento 2

To configure the online session length, do the following:

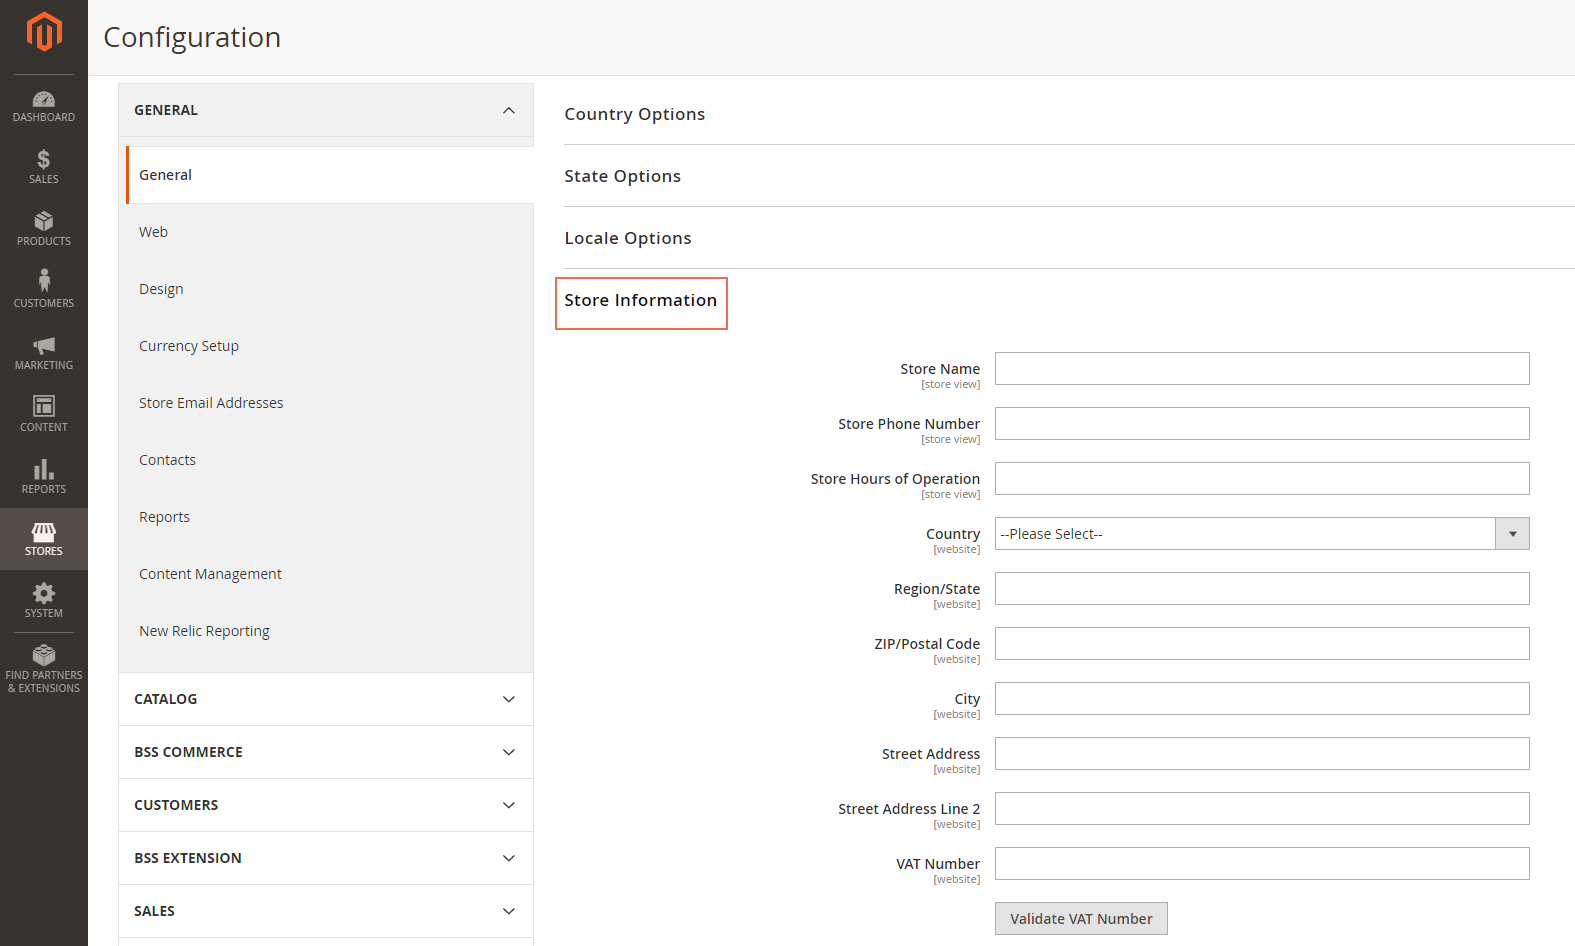
  1. Open the Admin home page. Then take a look at slidebar and click on Stores symbol. Next, choose Configuration under Settings.
  2. In the board on the left, expand Customers and choose Customer Configuration.
  3. When Customer Configuration appears, expand the Online Customers Options sector.
  4. In the Online Minutes Interval area, enter the number of minutes you want to set for one online customer session length. You are allowed to leave that field empty and then the interval time will be set to default by fifteen minutes.
  5. If you are ready to save information, click on Save Config button to finish.

We have presented about Configuring Online Session Length in Magento 2. We hope that this article can show you useful information to select the appropriate extension for your online shop. If you find it helpful for you, please Like, Share and Subscribe to keep updating for more upcoming blogs!

An Overview of Data Validation in Magento 2

What is Data Validation in Magento 2?


Data Validation in Magento 2 which can be understood as the checking process for all data before importing into store is completed to assure that the values are appropriate for the system database. To start Data Validation, in the admin homepage, click System, choose Import under Data Transfer, after that, Import field appears with Check Data button in upper-right corner, tap on that button and Validation is begun. During the process, all objects in the import file have to undergo five following checking factors:

Attributes

The value of particular attribute has to be suitable with all of the requirements of the data type and column header match the equivalent attributes in the system database.

Complex Data

Verify values contained in a set, such as multiple select input or drop-down type to ensure that all of them are defined.

Service Data

In service data columns, the values have to be persistent with standard in the system database.

Required Values

As for new objects, Data Validation does check the existence of required attribute values in the file but does not need to do with existing entities.

Separators

Data values in a CSV file are decided by comma, and text values are put inside double-quotes. Verify separators and sets of quotes that insert character series to make sure that all of them are correctly formatted.

Validation Result

After checking process, the result appears with three information below:

  • The number of objects verified
  • The number of invalid rows
  • The number of errors found

If the data is valid, you will see  “Import Success” message displays.

If the data is not valid, the description of each error comes out, please read and fix the problem in import file to reach a valid database.

Appearance of Data Validation Messages in Magento 2

Data ValidationSuccess Import Message

Data ValidationSome errors of CSV import file

We have presented about Data Validation in Magento 2. We hope that this article can show you useful information to select the appropriate extension for your online shop. If you find it helpful for you, please Like, Share and Subscribe to keep updating for more upcoming blogs!


A Helpful Guide to Basic Configuration in Magento 2

Mastering the basic configuration is a must-have thing for any store owner. This blog will guide you through the basic setting in Magento 2 admin panel. To be more specifically, there are five main sections that will be introduced in this article, including store admin, store details, storefront branding, website – store – view and industry compliance.

1.Store Admin in Basic Configuration


The store admin is your back office that you can conduct all the actions here, from creating product, managing order, setting promotion to configuring tax and checking customer data. All the administrative tasks are executed in store admin.

The store admin is protected by a password that is set up when you install Magento 2. In case you forget the password, you can request a temporary password sent by the system to the email you use when creating your account.

2. Store Details in Basic Configuration

Please navigate to Admin => Sidebar => Stores => Configuration => General => Store Information.

magento-2-store-details-in-basic-configuration
Magento 2 store details

This part allows admin to enter detailed information about your store, including store name, store phone number, store hours of operation, country, region, postal code, city, street address, and VAT number.

The store’s detailed information such as name, address, email and phone number will be included in your document like invoice and email sent to customers.

3. Storefront Branding in Basic Configuration

magento-2-storefront-branding-in-basic-configuration
Magento 2 storefront branding

When first setting up for your frontend store, here are a few quick thing you can do: add logo in the header, use the favicon for the browser, a demo notice on the header such as “This is a demo store. Any orders placed through this store will not be honored or fulfilled” and a copyright note on the footer of the page.

4. Websites, Stores, and Views

During Magento 2 installation, admin can create multiple websites, each website can have multiple stores and each store can hold multiple store views. Admin is capable of managing all websites, stores and store views from admin panel.

5. Industry Compliance

It is merchant’s responsibility to oblige the legal requirements, industry guidelines and best practices which are set by law, payment card industry and depended on the location.

In short, here is all the details for Magento 2 Basic Configuration we want to share with you. If you find it helpful for you, please Like, Share and Subscribe to keep updating for more upcoming blogs!