The header of every page in your store brings forward an offer for shoppers to log in or register for an account with your store. This article helps you to have the overview of Customer Account in Magento 2.
When clients sign in their customer accounts, they can get a chain of advantages that regular visitors of the store don’t have.
Faster checkout Customer Account
Registered customers are capable of checking out faster because a lot of information is already in their accounts. As soon as your account is active, you can record contact details for future use. You don’t need to waste time filling in personal information as well as moving through many steps to buy commodities.
Self service Customer Account
Customer accounts allows clients to log in and control their own bookings and contact information. This is a function that you can get only if you already activate your account in the store. Customers who registered can change their information, review the status of orders and even reorder from their account dashboard at any time.
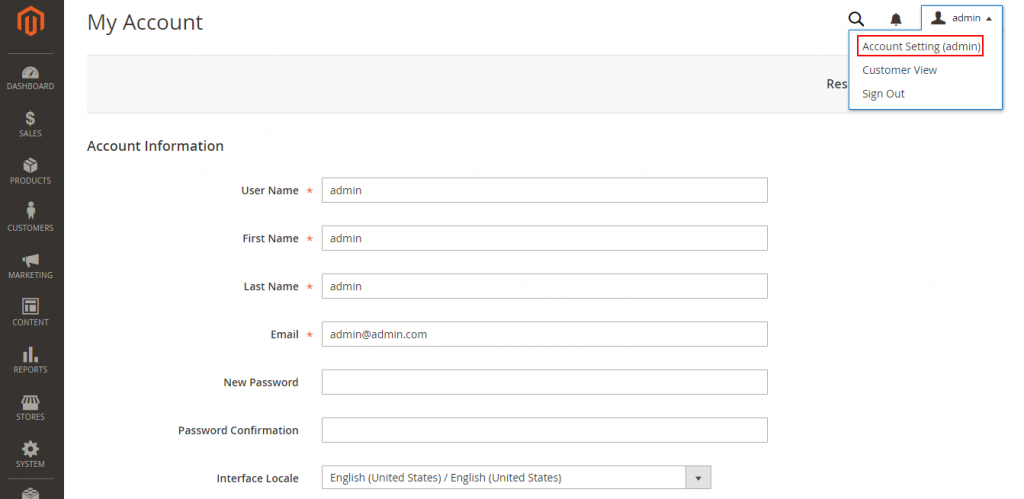
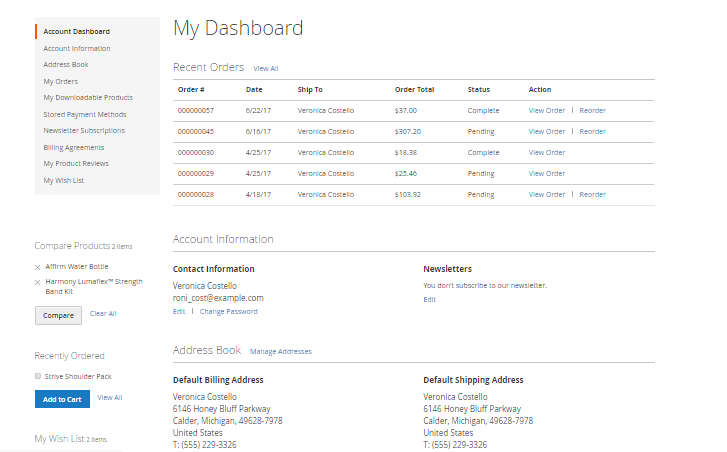
To access account dashboard, customers can tap My Account in the store header.
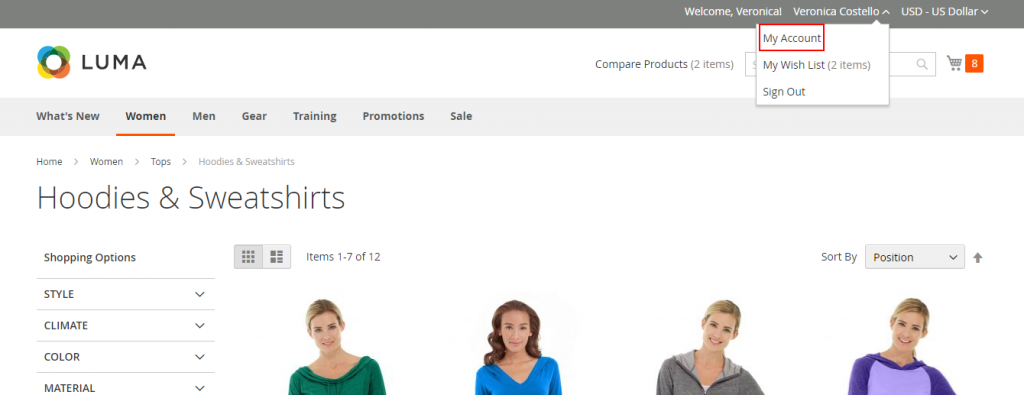
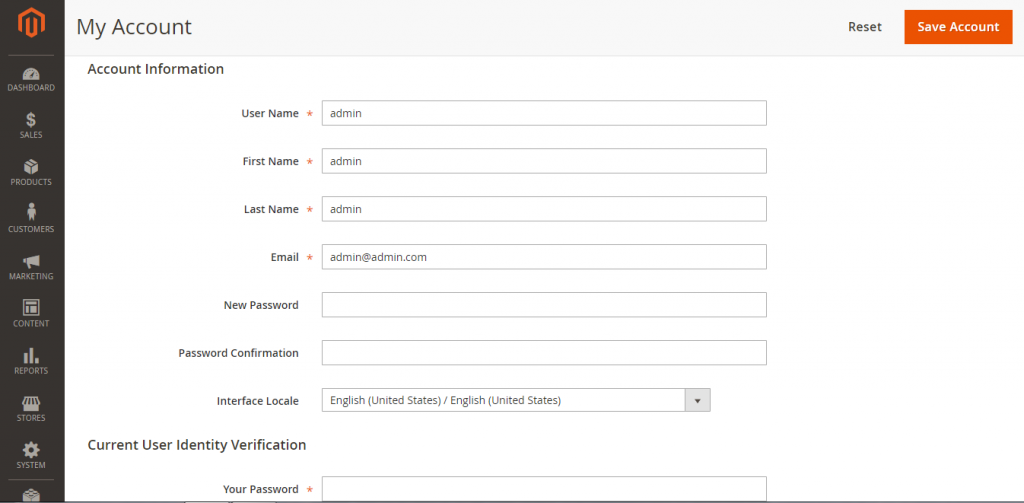
My dashboard page appears and customers can use their account dashboard to see and alter their information including:
- Recent Orders: order number, date, order total, status, action
- Account Information: contact information, newsletter subscriptions
- Address Book: default billing and shipping addresses, additional address entries
- Compare Products
- Product Reviews
- Wishlist and more
Due to these benefits, operations in the store become time-saving and feasible. Shopping is more convenient when you can easily manage your bookings and other important information in the store with a customer account.
Through this article, you must have had necessary information about Customer account in Magento 2. We hope that this article is useful for you and if you need any help, please feel free to contact us.