To display category, product, and CMS pages quickly, Magento Open Source uses full-page caching on the server. Full-page caching enhance response time and reduces the load on the server, Magento Open Source uses full-page caching on the server. Without caching, each page might need to run blocks of code and retrieve information from the database. However, with full-page caching enabled, a fully-generated page can be read directly from the cache.
We recommend using Varnish only in a production environment.
The system can use the cached content to process the requests from similar types of visits. Pages shown to a casual visitor might differ from those shown to a customer. For the purposes of caching, there are 3 types of visit:
Non-sessioned: During a non-sessioned visit, a customer views pages but does not interact with the store. The system caches the content of each page viewed and serves them to other non-sessioned customers.
Sessioned: During a sessioned visit, customers who interact with the store through activities such as comparing products or adding products to the shopping cart, are assigned a session ID. Cached pages that are generated during the session are used only by that customer during the session.
Customer: Customer sessions are created for those who have registered for an account while logged in to their accounts. During the session, special offers, promotions, and prices that are based on the customer group to which they are assigned can be present to them.
For technical information, see Configure and Use Varnish and Use Redis for the Magento page and default cache in the developer documentation.
To configure the full-page cache, you can follow these steps:
- On the Admin sidebar, click Stores. Under Settings, click Configuration.
- On the left of the panel under Advanced, select System.
- Open the Full Page Cache tab
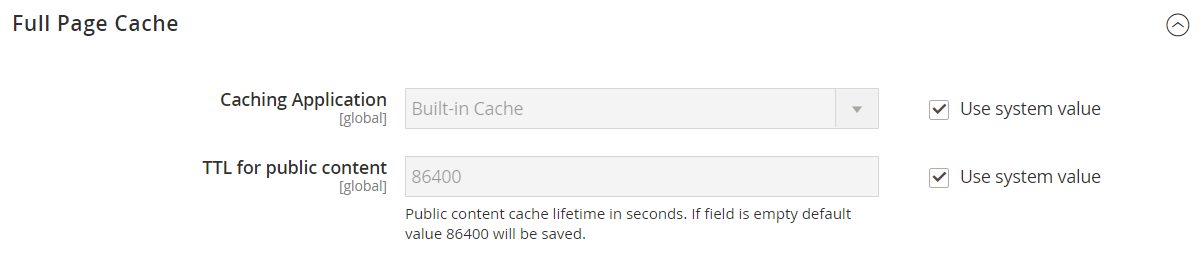
- Set Caching Application to one of these options:Built-in ApplicationVarnish Caching
- Enter the TTL for public content (the default value is 86400) to set the time-out for the page cache
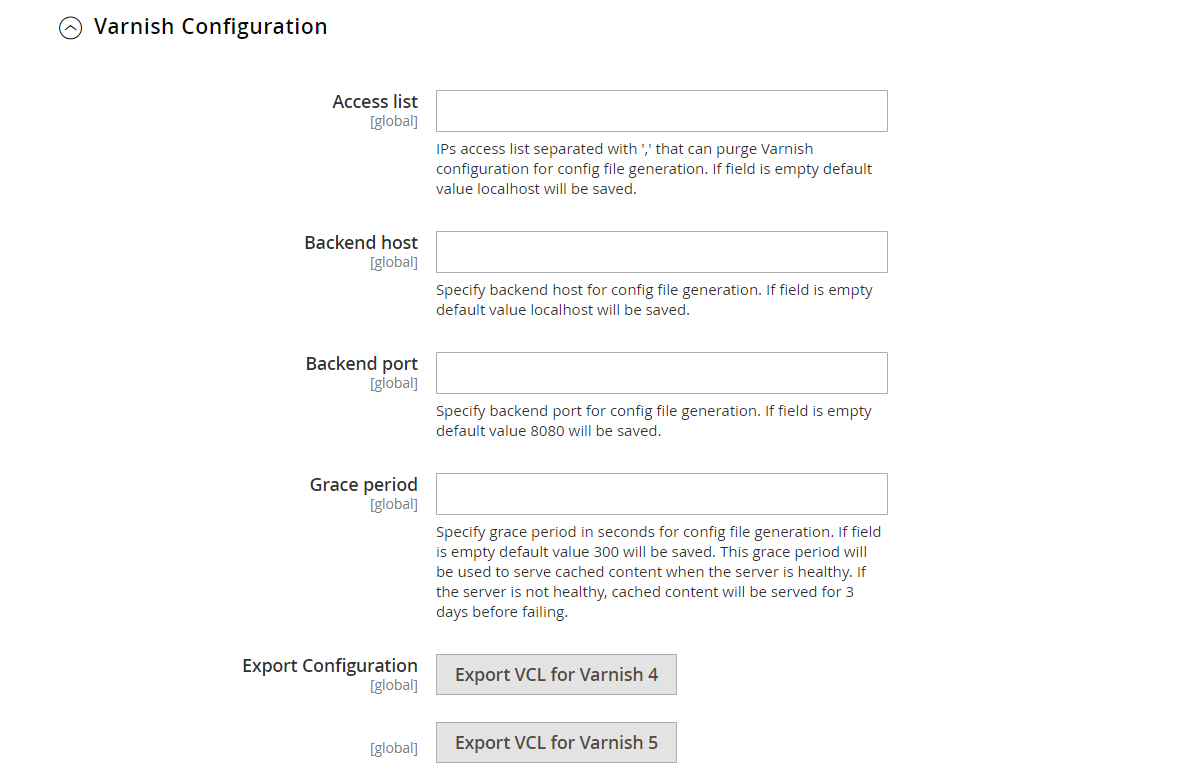
- If using Varnish, complete the Varnish Configuration section as follows
- In the Access list field, enter the IP addresses that can purge the Varnish configuration to generate a config file. Separate multiple entries with a comma. The default value is “localhost.”
- In the Backend host field, enter the IP address of the backend host that generates config files. The default value is “localhost.”
- In the Backend port field, identify the backend port that is used to generate config files. The default value is: “8080.”
- Click the button for the version of Varnish that you use to export the configuration as a varnish.vcl file, Export VCL for Varnish 3
Export VCL for Varnish 4
- Click Save Config