The Create New Account Options section of the configuration includes all the basic account options as well as the advanced options for admin to configure. In this article, we would like to guide you how to set up only the most frequently used option in Magento 2. Please take attendance to get more information below.
How to Set up the Basic Customer Account Options
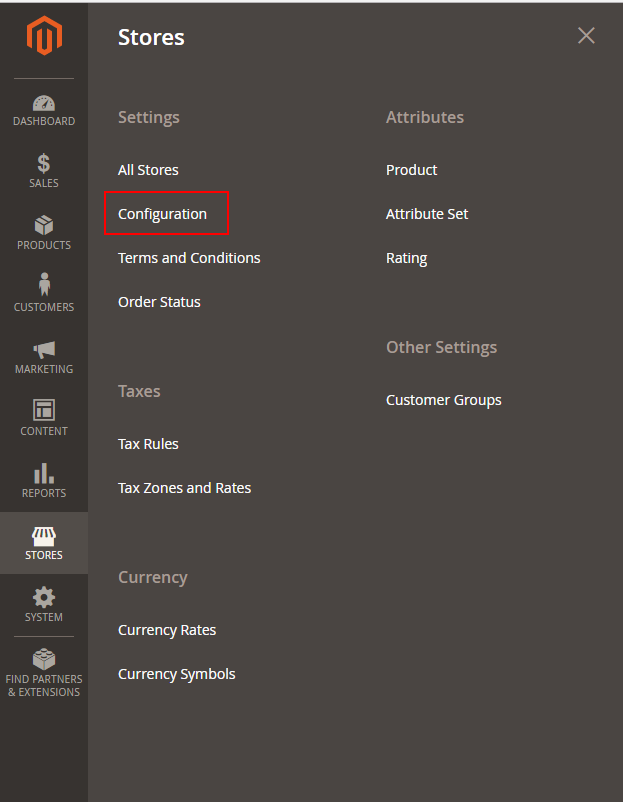
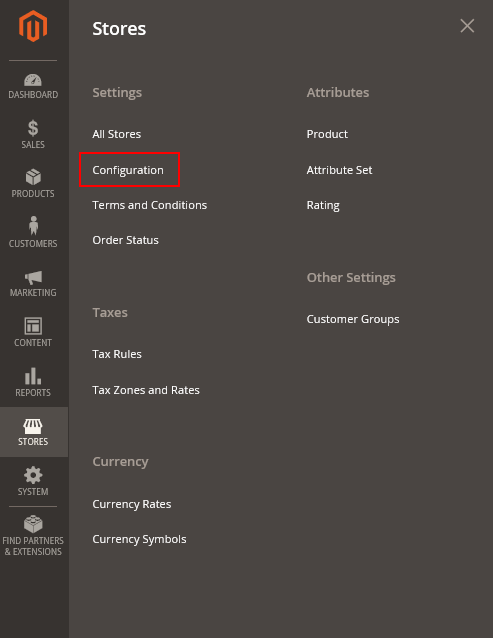
- Firstly, open the Admin homepage. Then take a look at sidebar and click on Stores symbol. Next, on the Stores panel, choose Configuration under Setting.
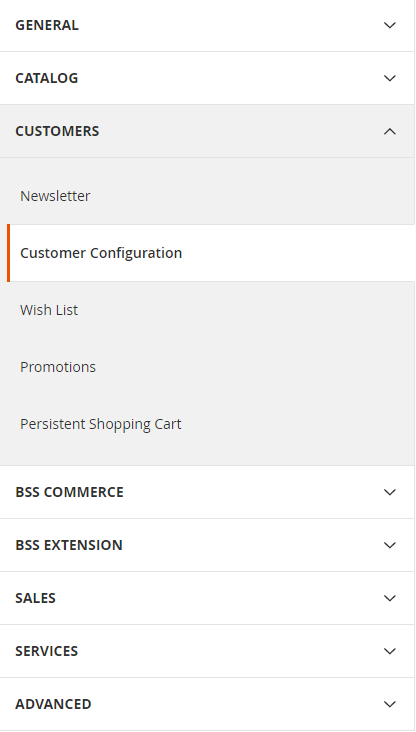
- In the board on the left, expand Customers and choose Customer Configuration.
- When Customer Configuration appears, expand the Create New Account Options sector. Next, do the following:
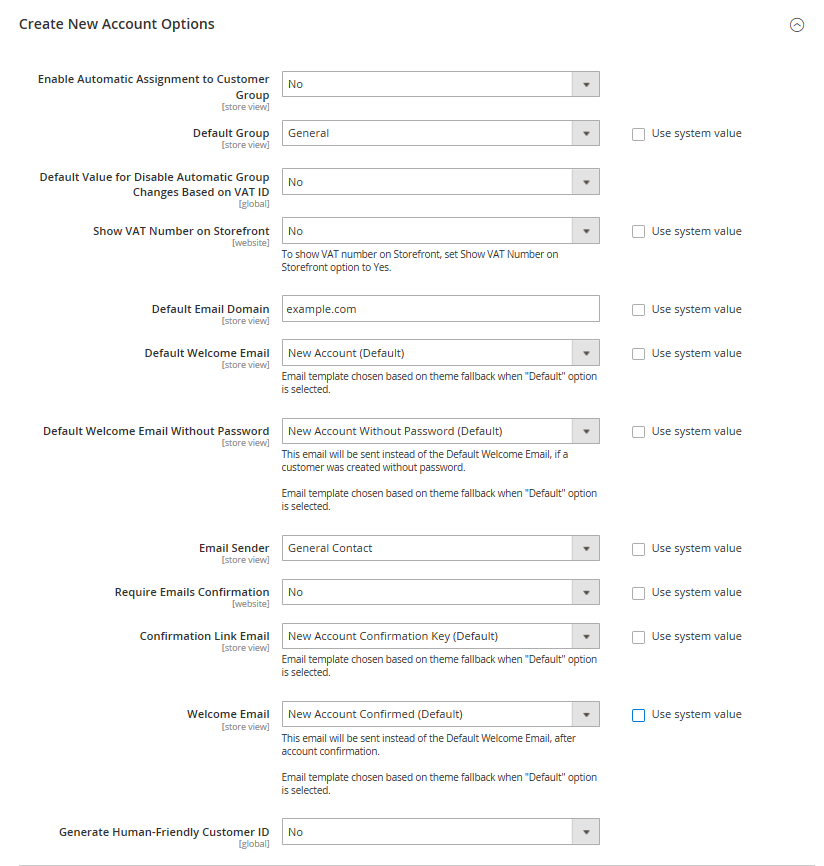
- Set Default Group to the one of customer group among General, Wholesaler, Retailer. Then, the chosen customer group will be accredited to new customers when an account is created.
- If you already own a Value Added Tax number and want to show it to your customers, set Show VAT Number on Storefront to “Yes”. If not, set to “No”.
- In the Default Email Domain field, enter the domain as wish. For instance: bssstore.com
- Set Default Welcome Email to the template that will be sent as a Welcome email to new customers. In addition, chosen Email template is based on theme fallback when “Default” option is selected.
- In Default Welcome Email Without Password, set templates will be sent if a customer account was created without password.
- In the Email Sender field, choose a kind of store contact to appears as a sender who owns the Welcome Email.
- In order to require that customers confirm their request opening an account with your store, in the Require Emails Confirmation, set “Yes”. Next, decide a template that will be used for the confirmation email in Confirmation Link Email field.
- Choose a template that will be sent as the Welcome message after the account is confirmed in Welcome Email field.
- When complete, tap Save Config button to finish.
If you find it helpful for you, please Like, Share and Subscribe to keep updating for more upcoming blogs!